TO DYE A GRADIENT KIT:
First, choose your cooking method. Will you be using a stove, the microwave, or an electric kettle (specially set aside for this purpose… please do not reuse dye pans or utensils for food preparation!). The instructions are essentially the same for all three methods. I’ll add special notes for microwave or kettle users as needed.
Next, choose your dyeing method. Will it be semisolid, variegated or speckled? For Semisolid or Variegated, please read through the instructions for that method first, THEN read these instructions. For a speckled gradient, go straight to the speckles instructions and follow those!

Things you’ll need: a pair of chopsticks, a spoon, or some other utensil to lift hot yarn out of the dye bath. A bowl to soak your yarn in. If you’re using the microwave, you’ll need a microwave safe dish. For the Gradient kit you’ll also need 3 extra containers to measure your dye into. NOTE: Please read the instructions all the way through before starting!
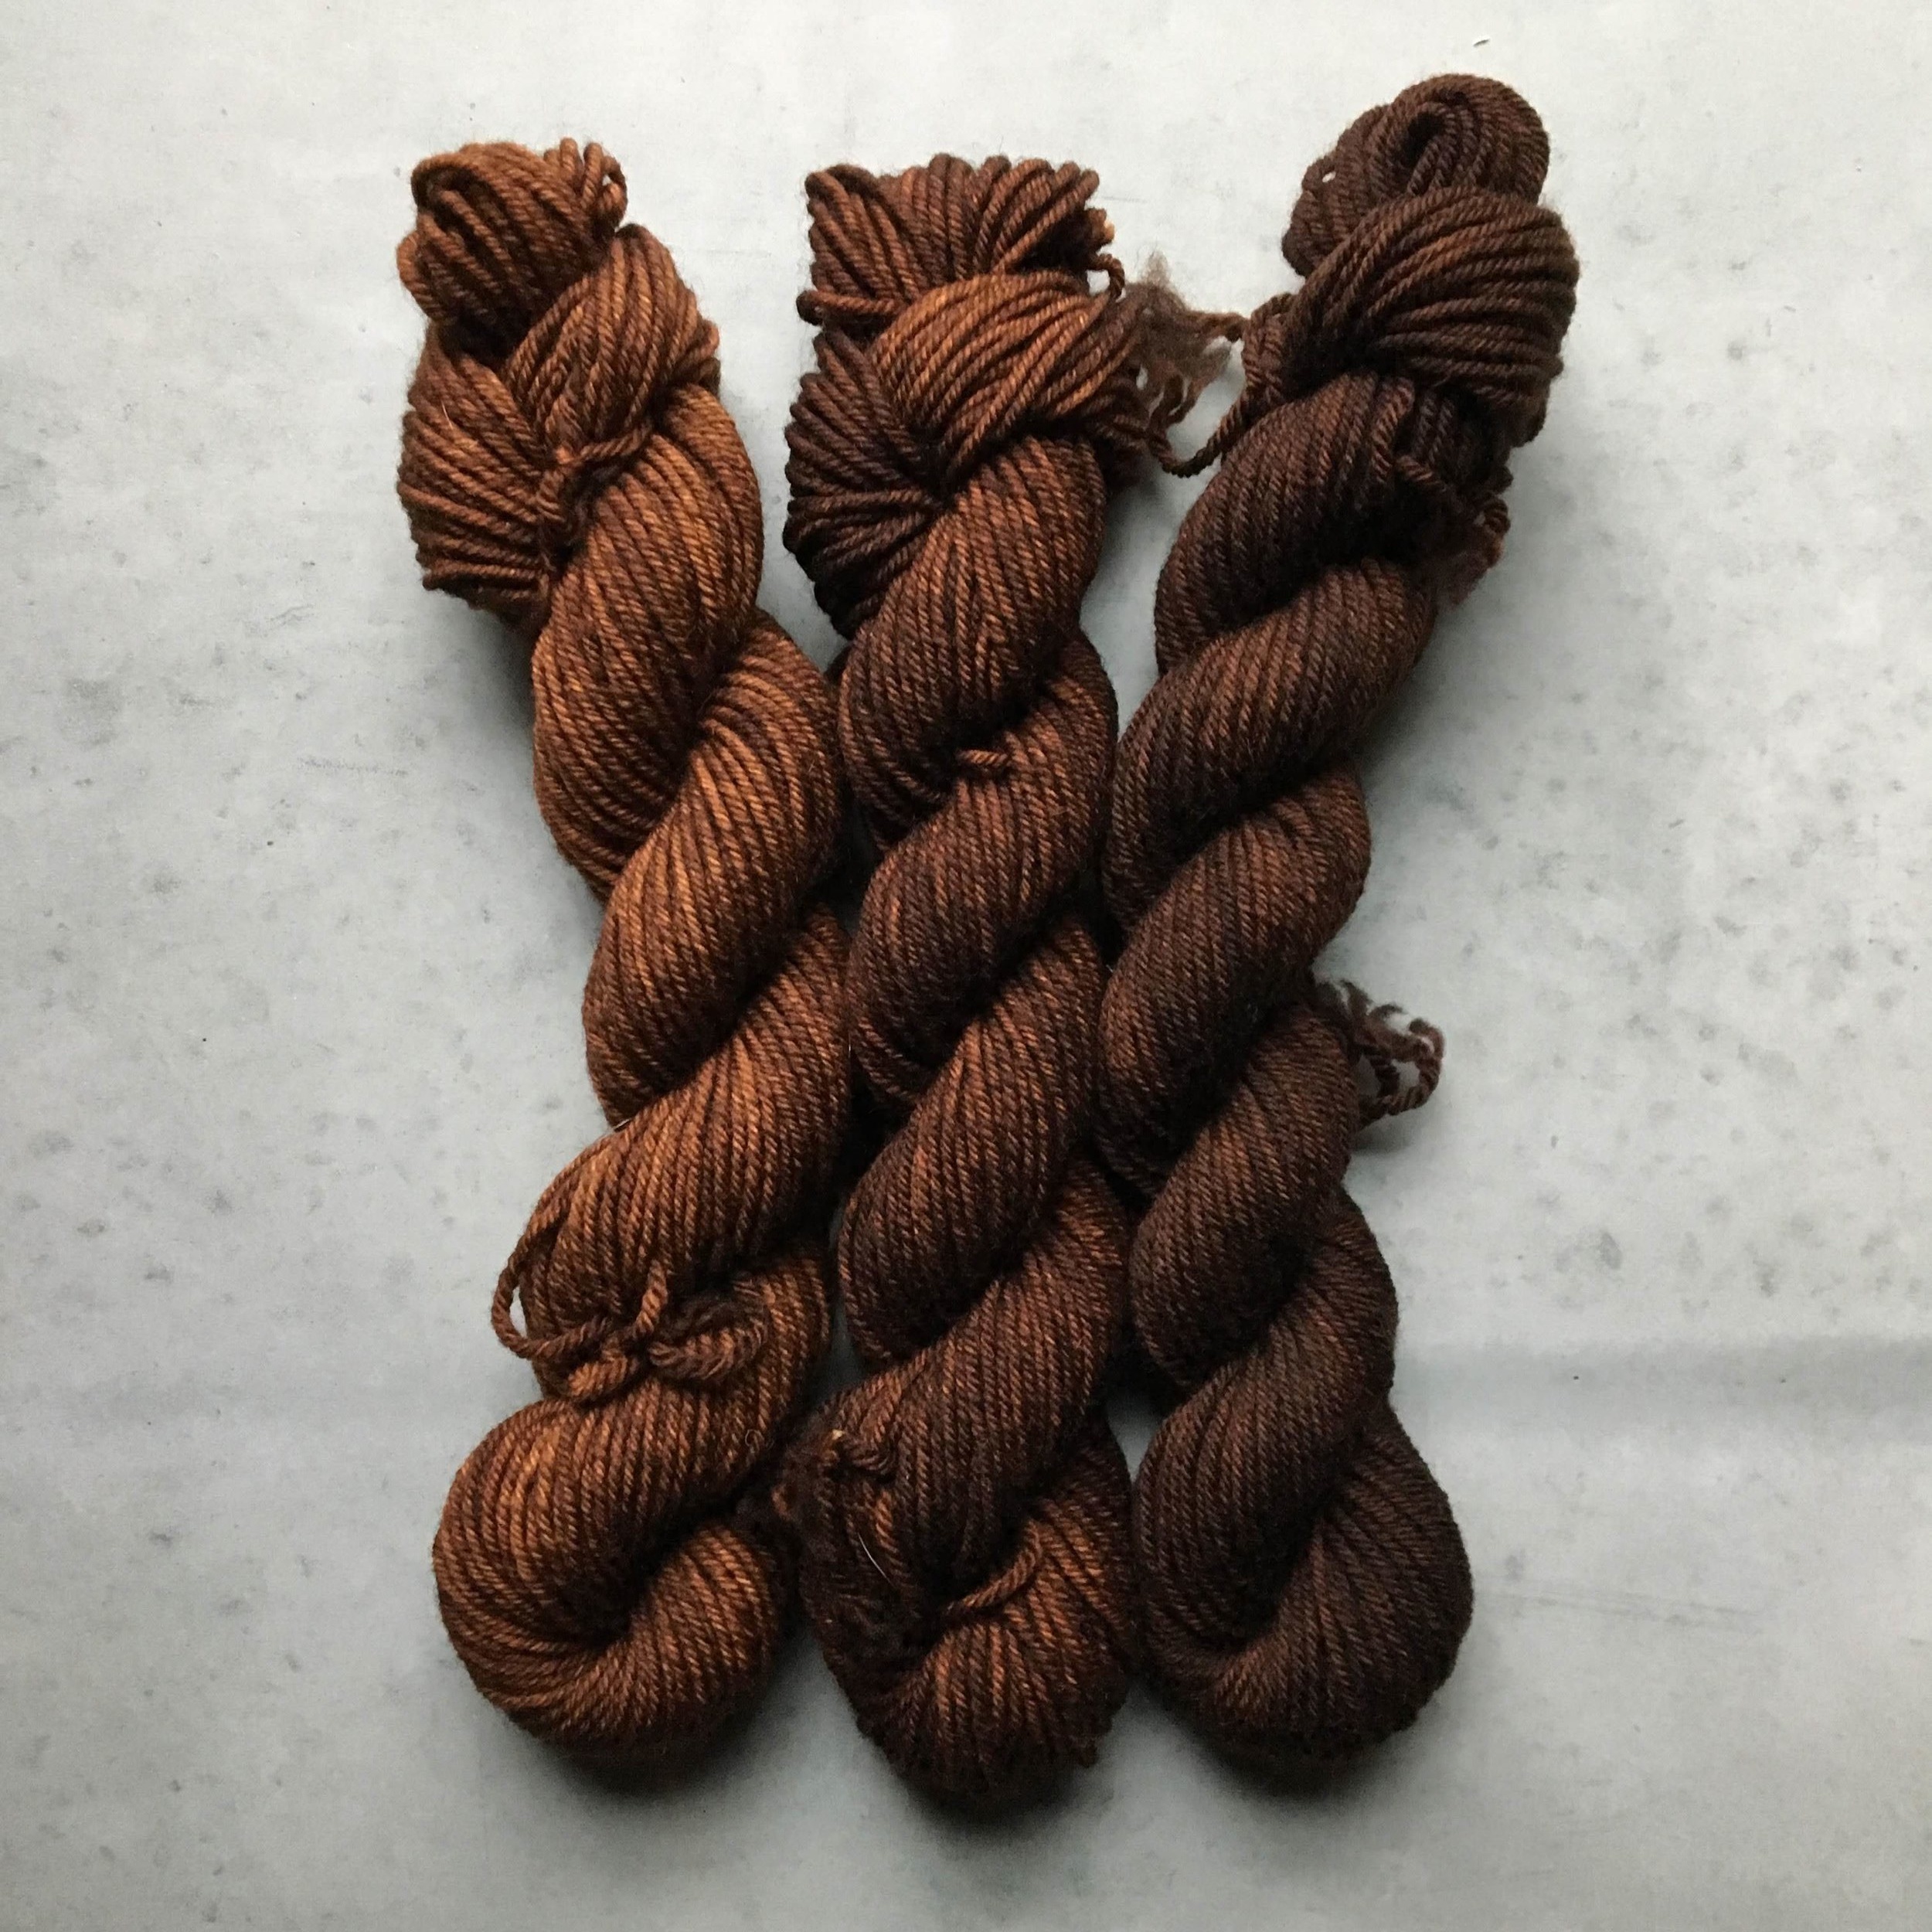
1. Open your Kit. Inside it you’ll find three 50g miniskeins. You’ll also find two paper packets not unlike the ones you find in a jello box.
2. Fill a bowl with nice warm water. Take your skeins of yarn, and gently lower into the warm water. For the semisolid gradient the skeins will be untwisted, so you’ll want to make sure you lay them into the water carefully so that they don’t tangle. Allow the yarn to sit in the water for at least 10 minutes. 20 is better. Pour yourself a nice beverage… put on some music… take your time and enjoy the process!
NOTE: Did you read the instructions all the way through? You rebel! I never read them either, but now that the yarn’s soaking you really should read the directions!
3. Once your yarn is soaked and you’re nice and happy and mellow, pour 6 cups of water into your cooking pot (or kettle or microwave safe dish). Next, rip open the packets, and pour the contents of both the packets into your pot (or kettle or microwave safe dish). Stir gently to dissolve the dye. If you are doing speckles, don’t forget to shake those packets!
4. Heat the dye bath and stir to dissolve the dye and citric acid from the packet. If you’re using a microwave, start with a few seconds at a time. The worst thing that can happen when using a microwave is that you give it too much time and it boils over, trashing the inside of your microwave!
5. Once the dye bath is well dissolved and nice and warm, divide it into 3 containers: one with 1 cup of dye, one with 2 cups of dye, and leave the 3 remaining cups of dye in your kettle. Add more water to your 3 cups of dye so that you have sufficient water to cover the skein.
6. Now, turn your attention to the soaking skeins. Pull one skein out of the water, squeezing as you go. Then, lower it into the dye bath. You’ll want to give it some pokes with a chopstick or other utensil, but don’t stir it up or you’ll tangle your yarn!
7. Heat the dyebath (and the skein) and simmer until the water is clear (or mostly clear.. you may see a tiny bit of color in the water and it’s OK).
8. Rinse your skein (I usually pull it out of the dye bath and put it back in the soak water to rinse). Hang to dry!
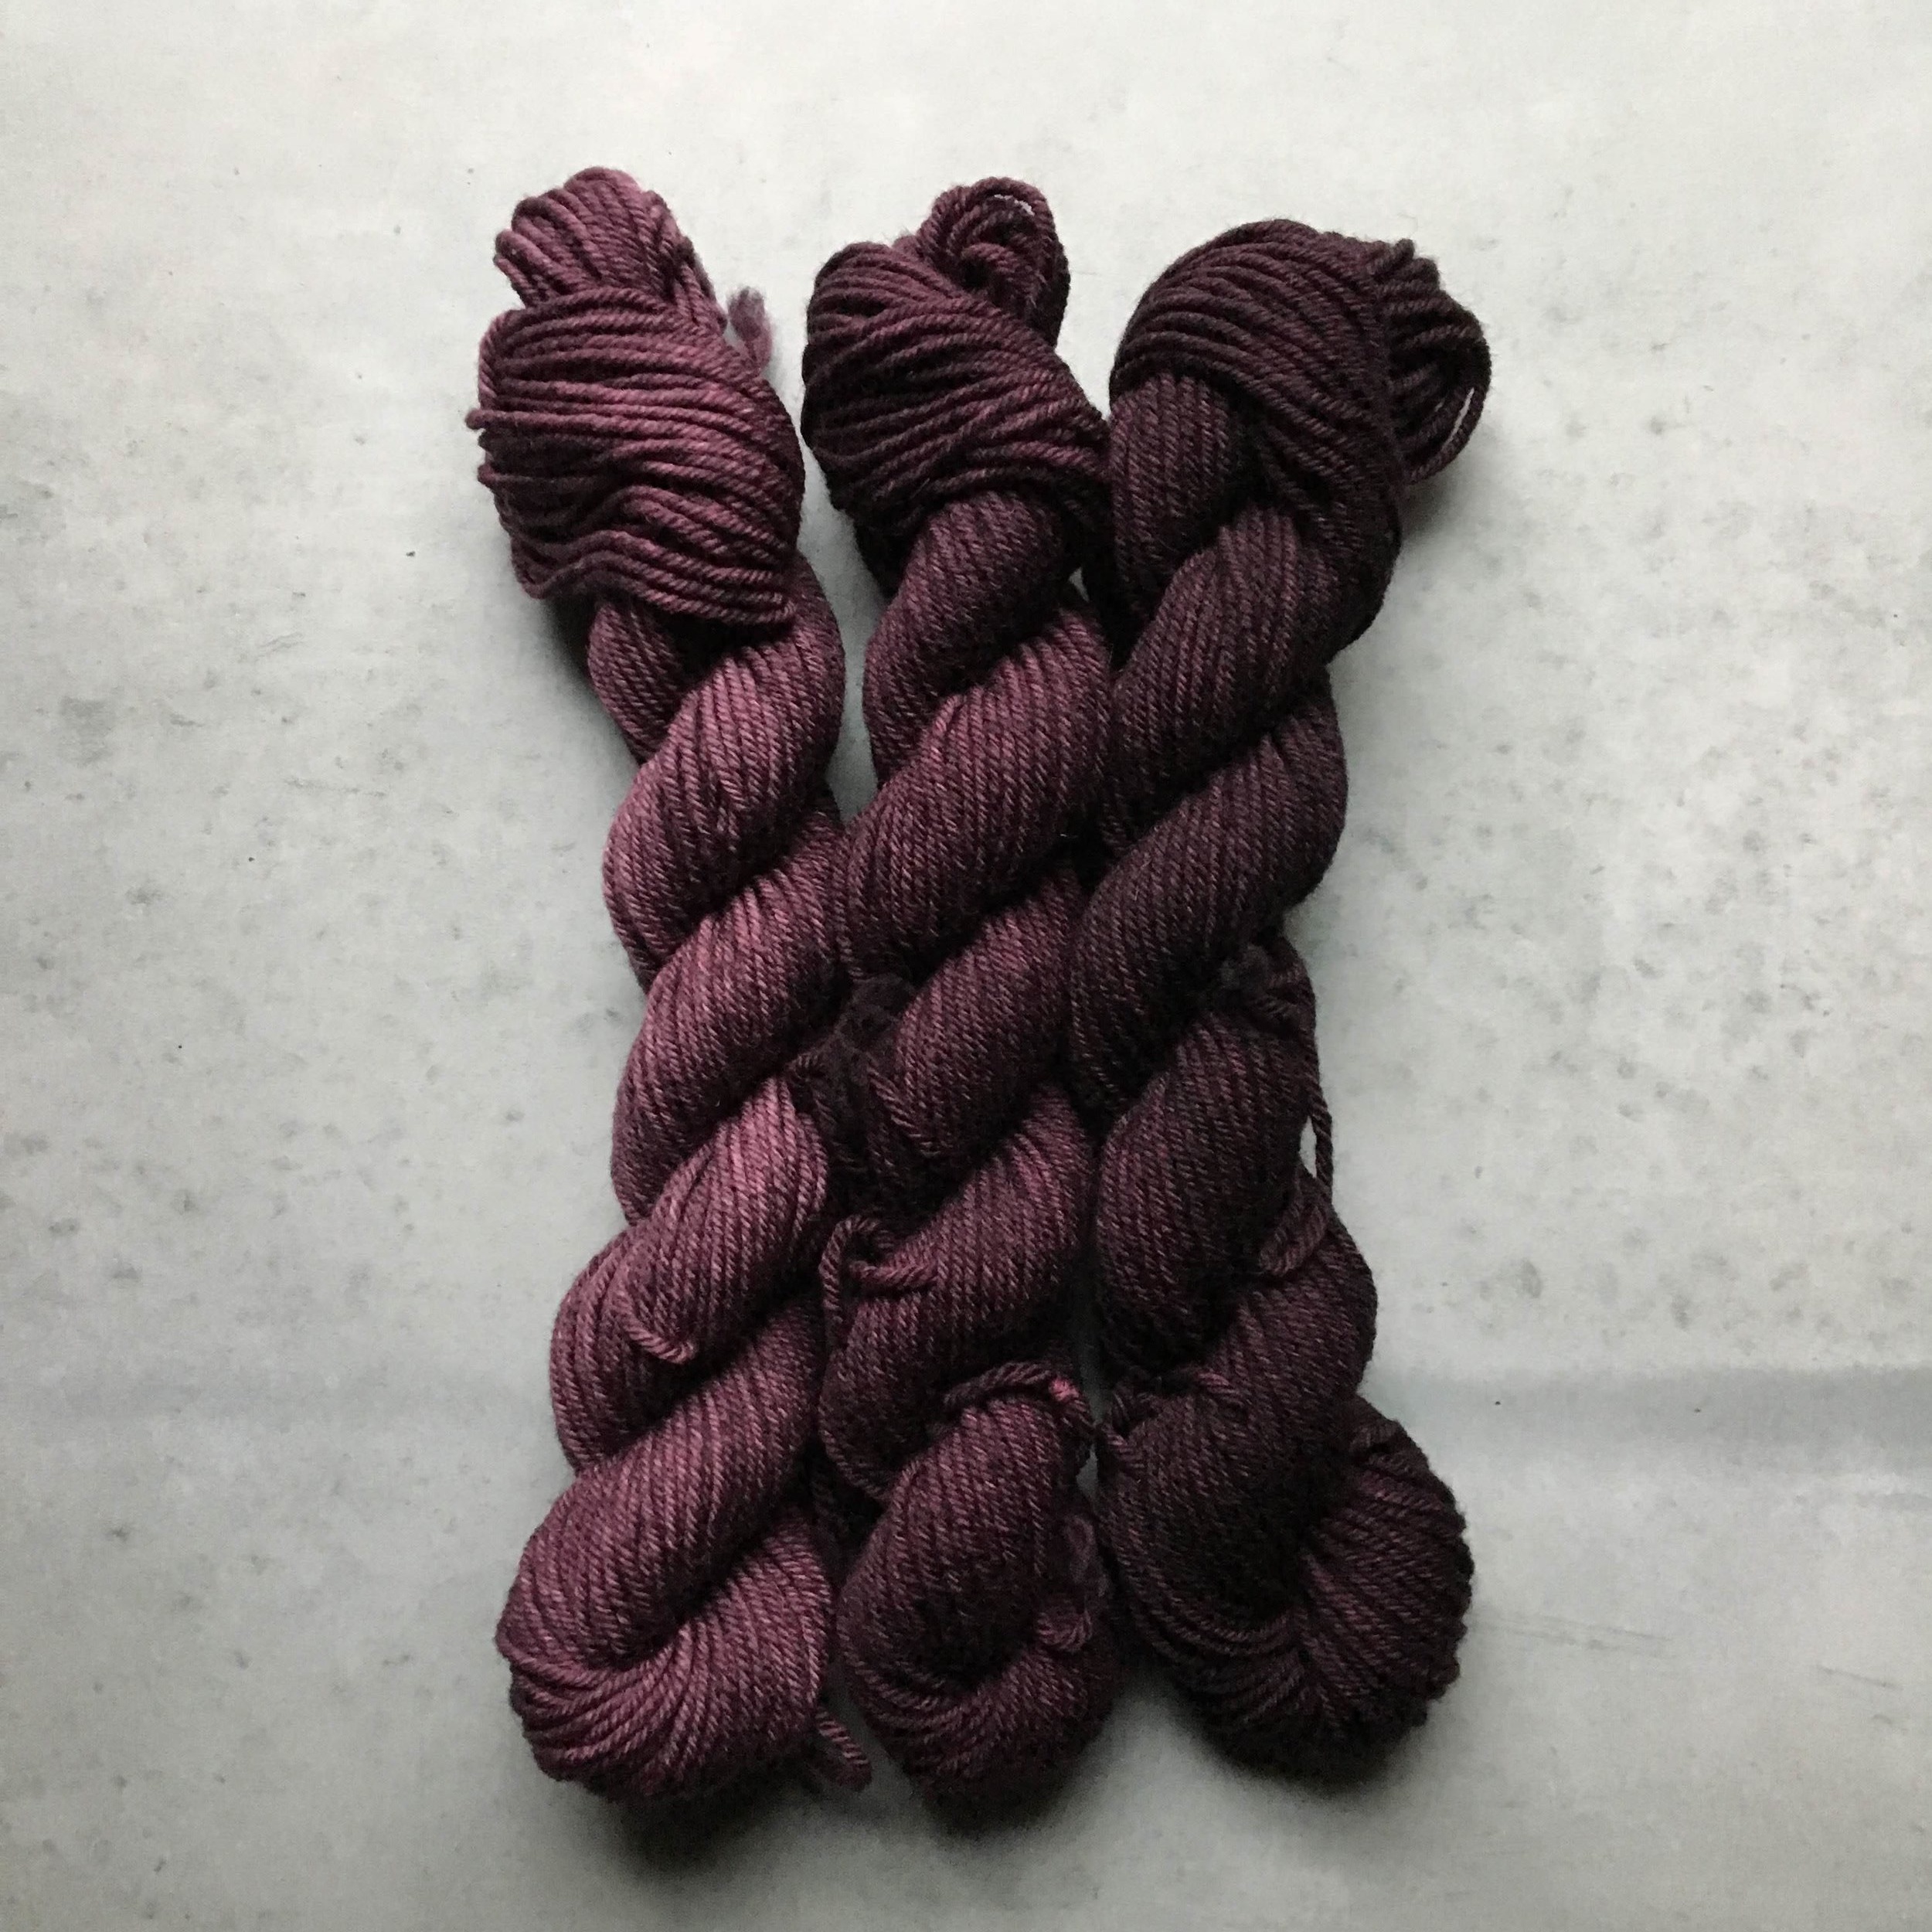
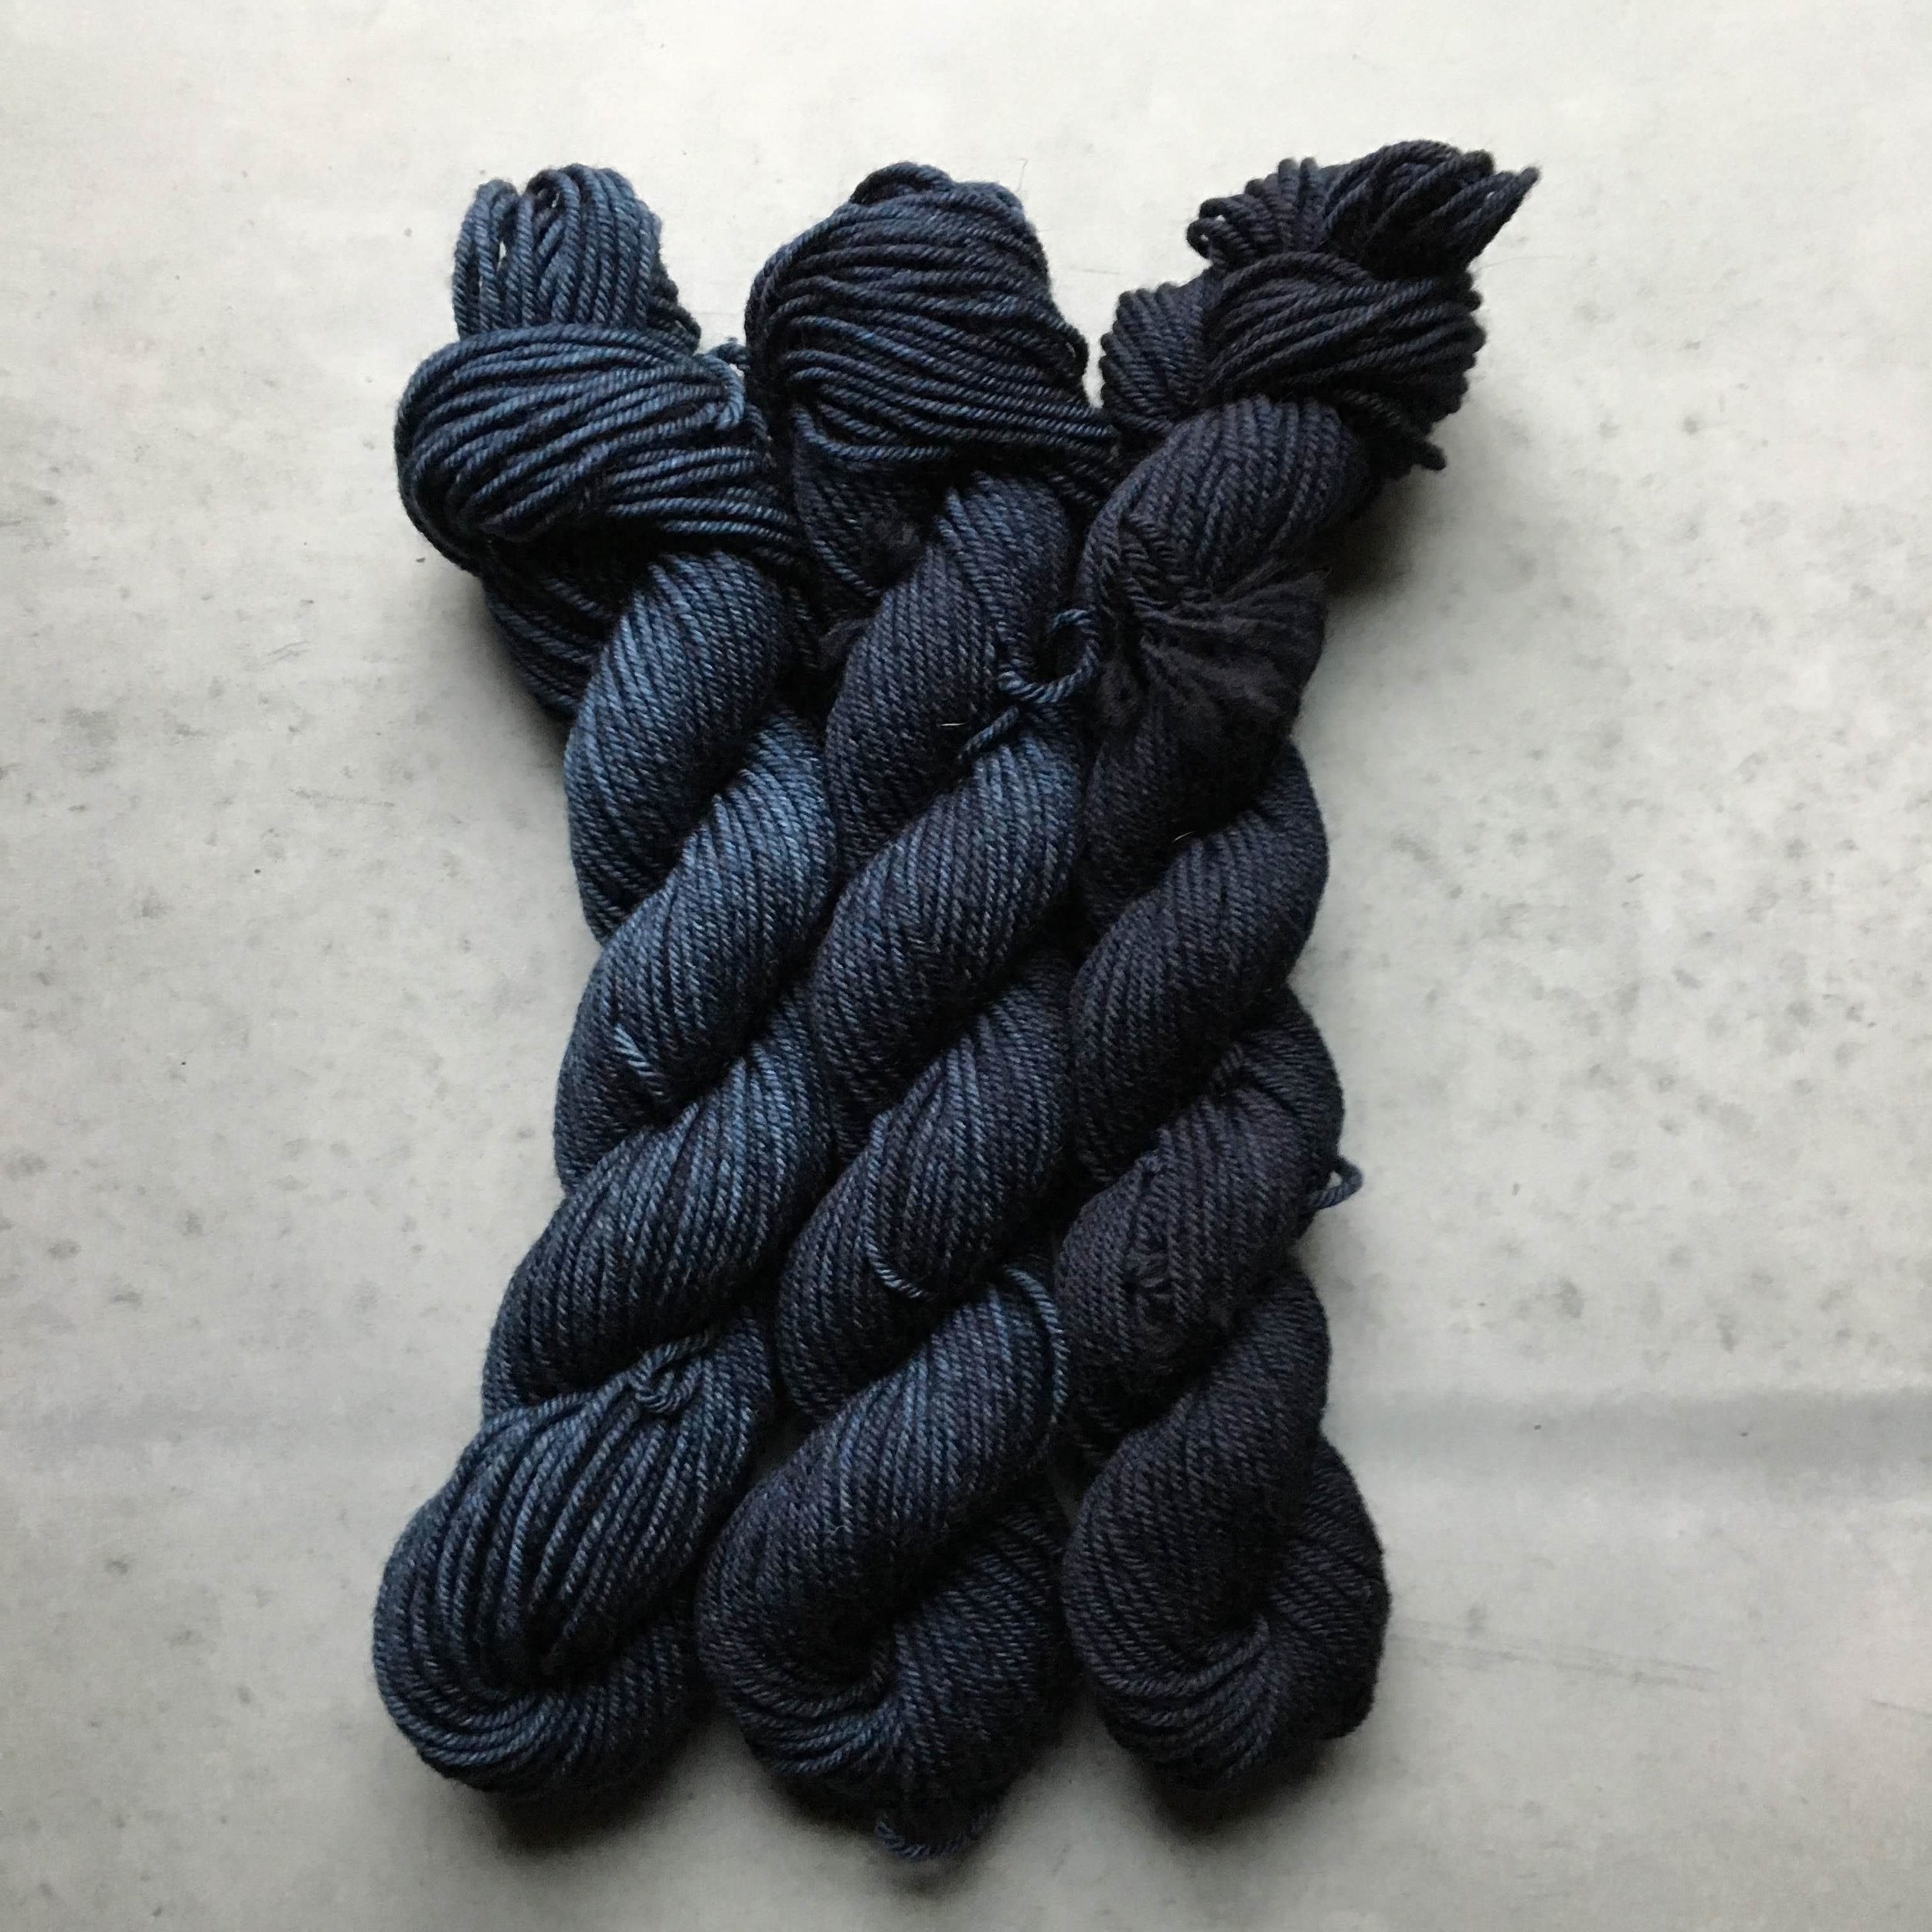
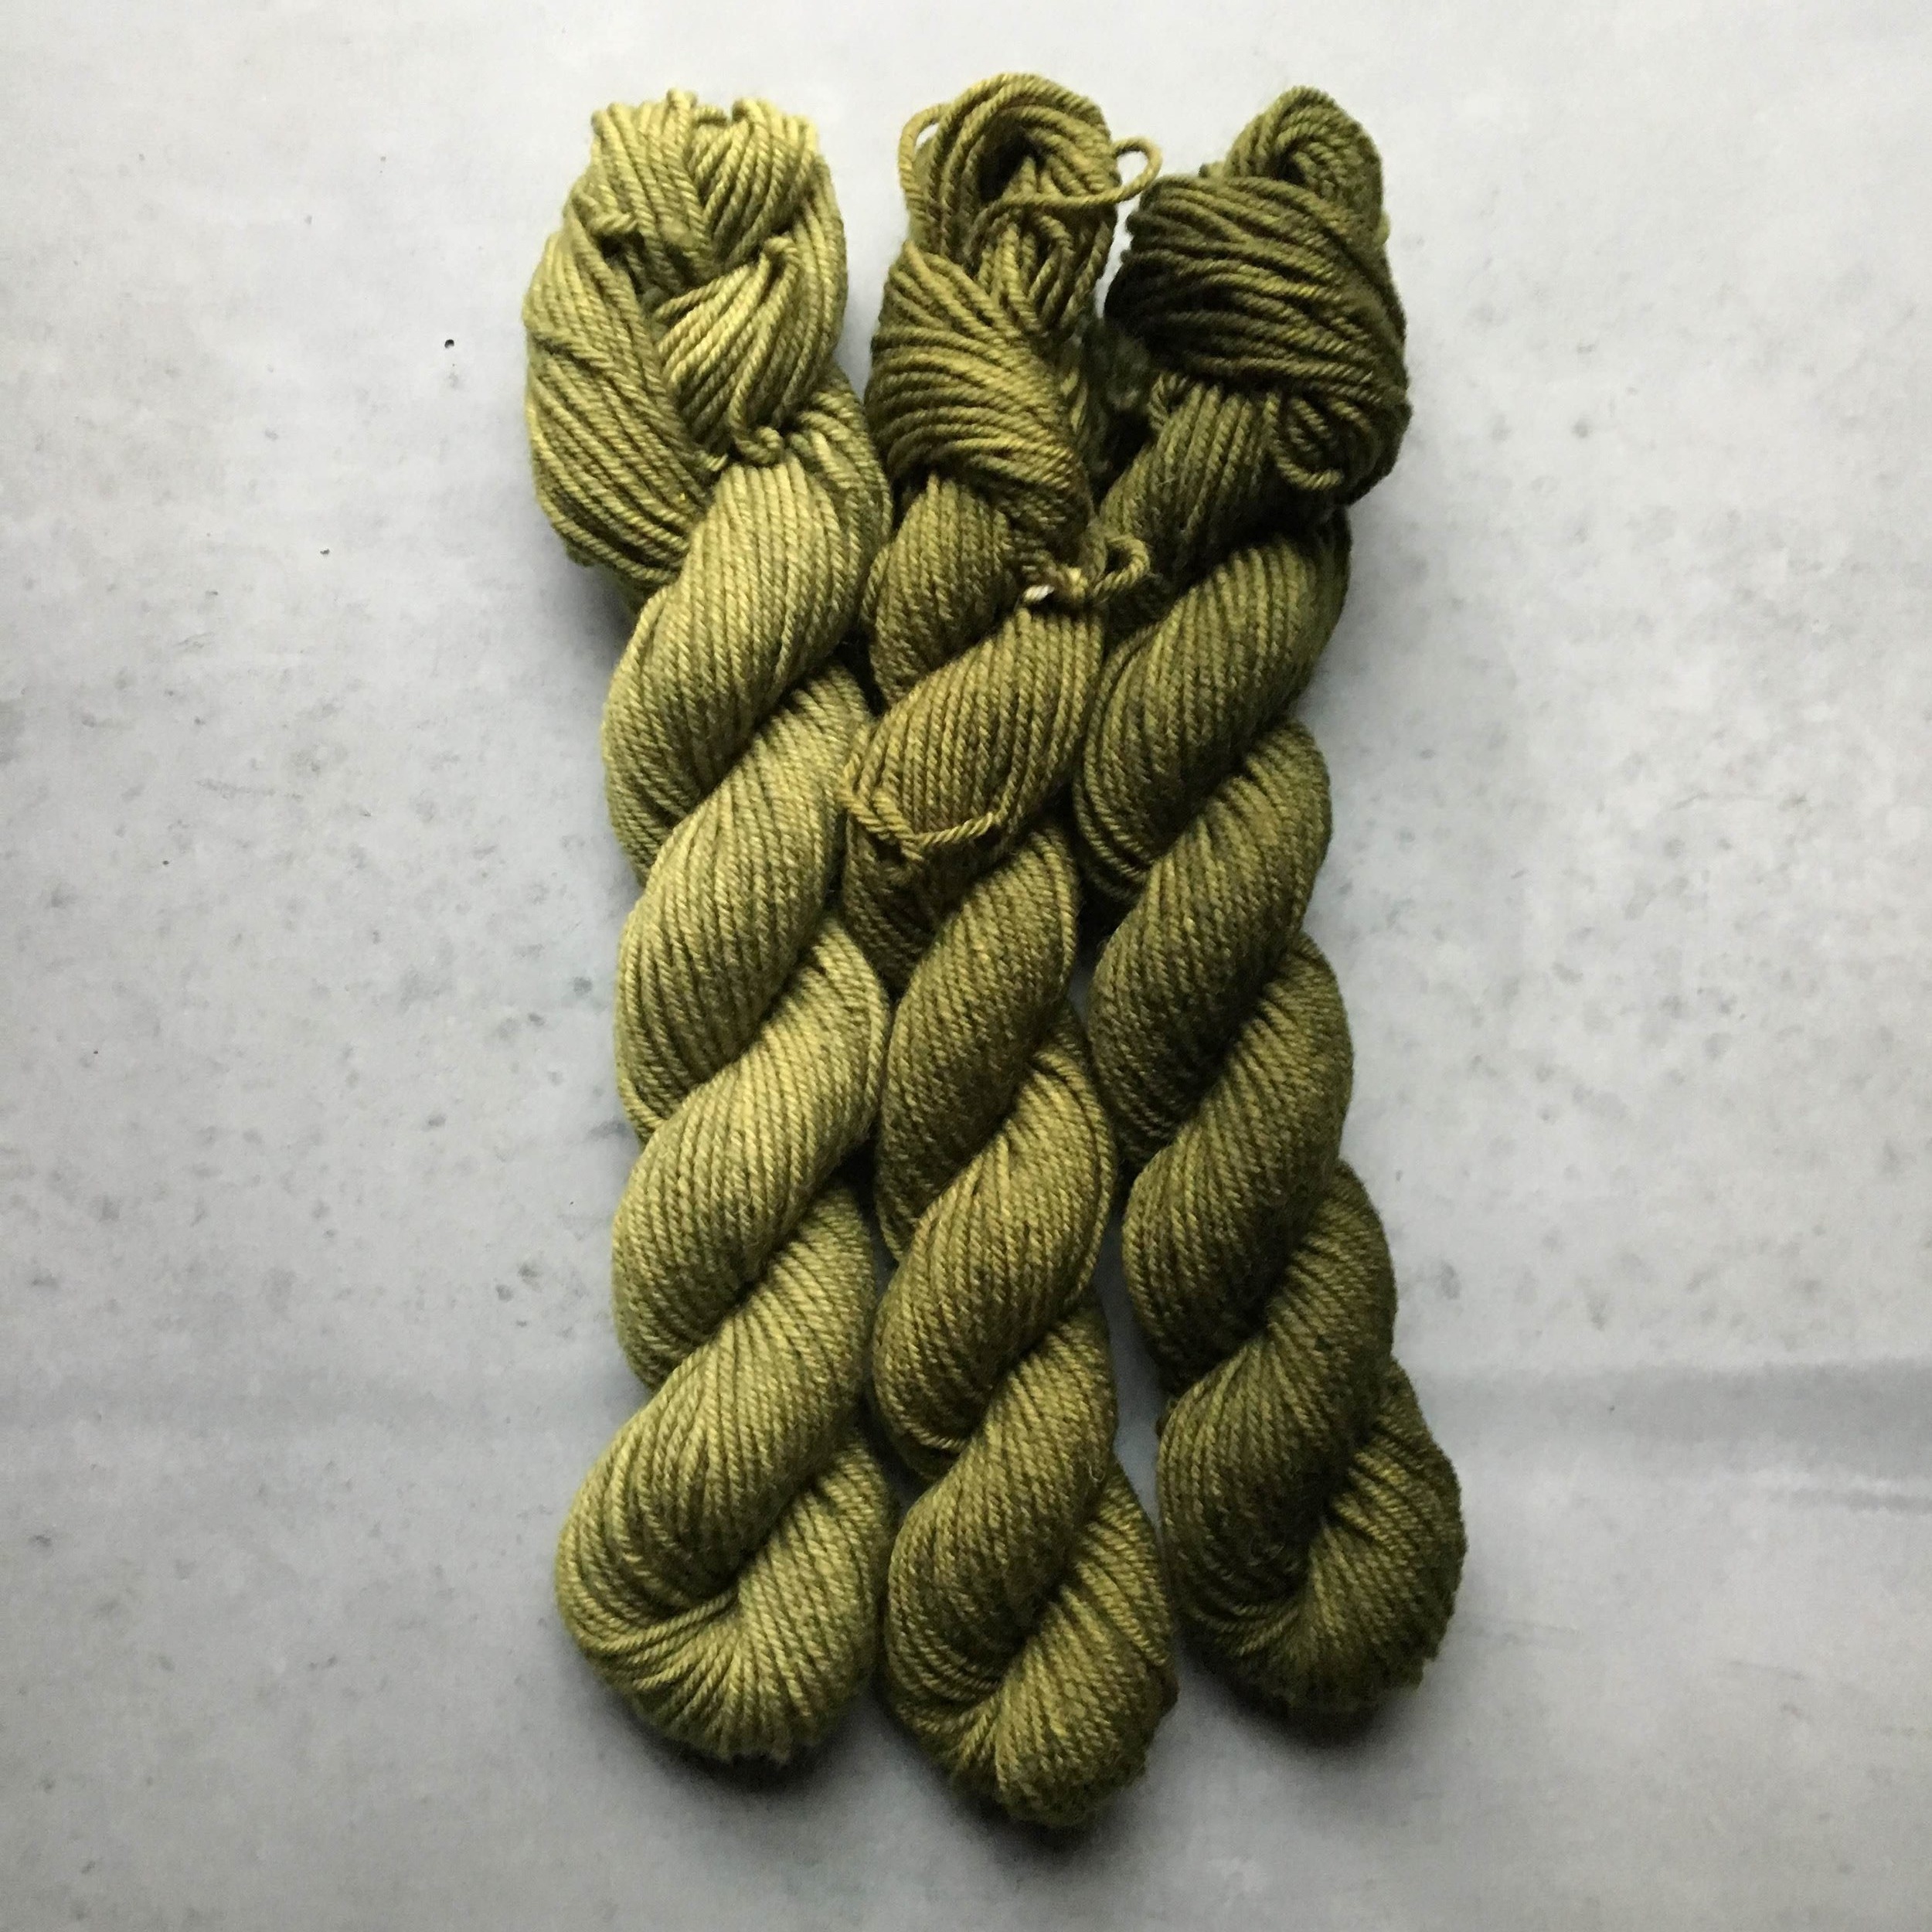
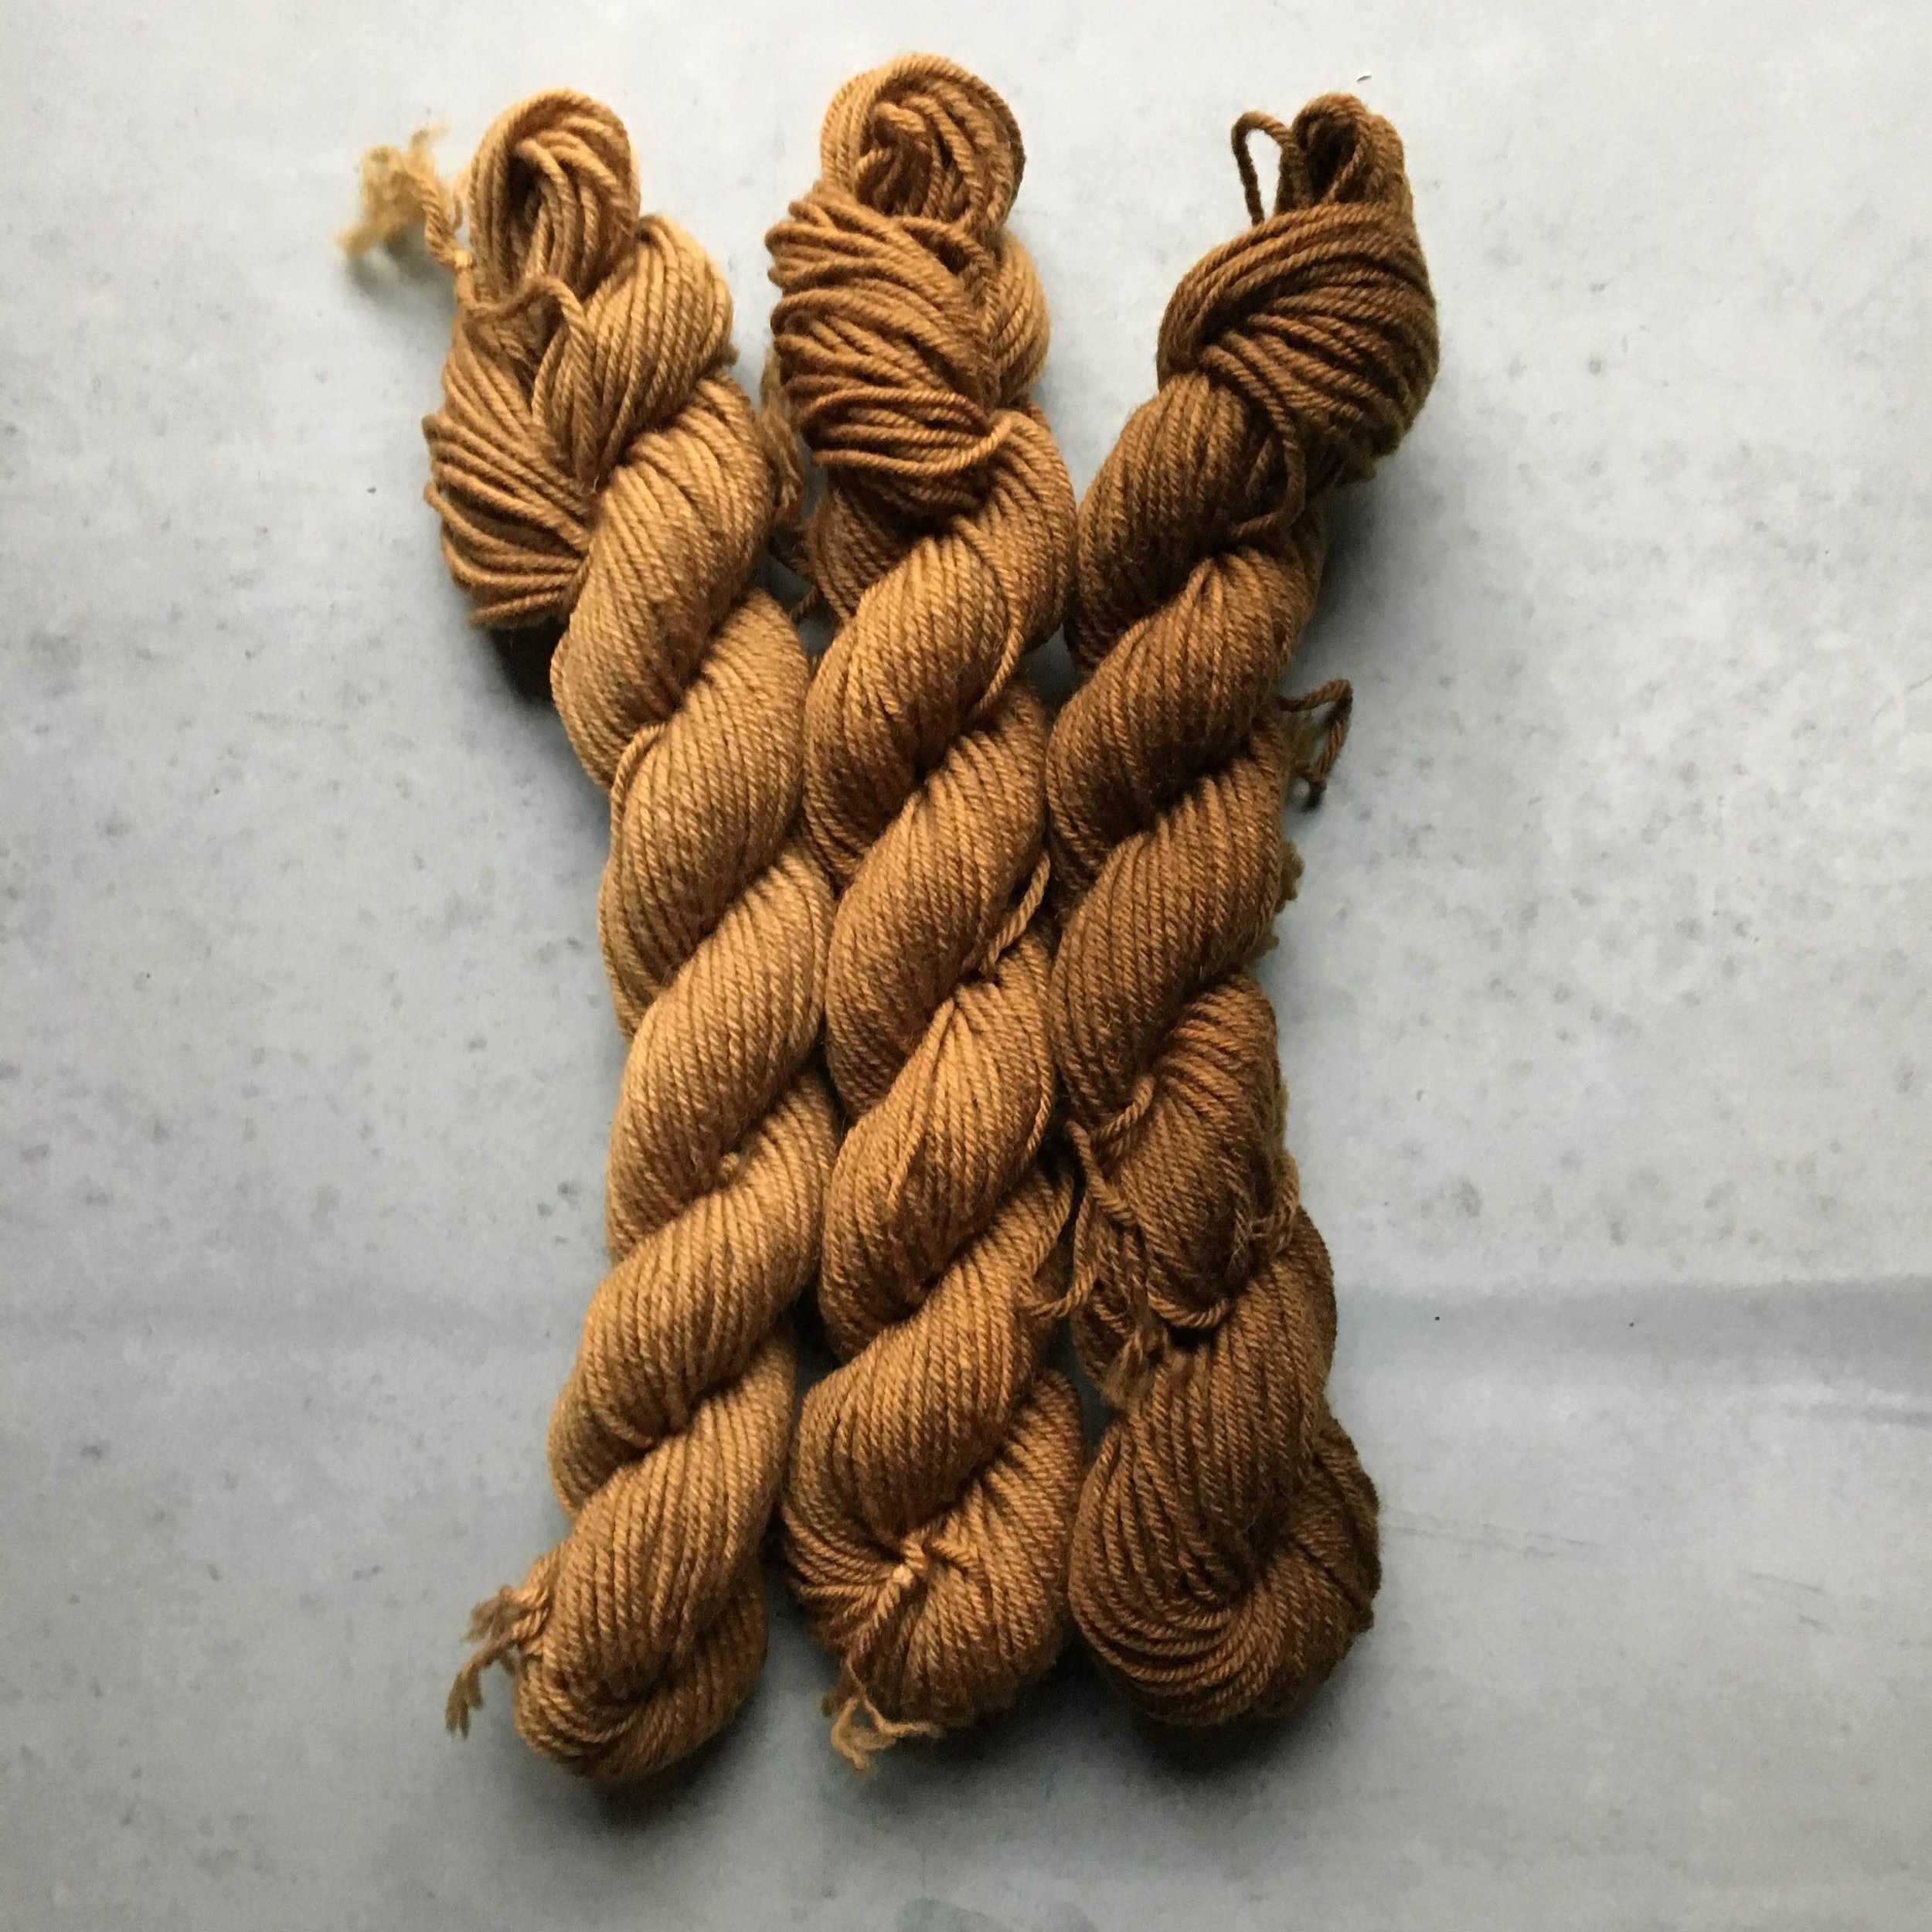
9. Repeat steps 6-8, first with the 2 cups of dye you’ve set aside (to achieve a medium tone) and finally with the 1 cup of dye you’ve set aside. You should now have a nice, subtle gradient!
NOTE: Want to make a wider gradient with 6 skeins? Just combine two kits, dissolve the two packets of dye in 10 1/2 cups of water, and divide into 6 parts:
1/2 cup
1 cup
1 1/2 cups
2 cups
2 1/2 cups
3 cups